Hey everyone! I just wanted to make sure that my followers here were informed of my new blog, The Pretty Pickle.
I just got it up and running, and while there are a few kinks to work out, I'm so super pumped to be using it. My shop is now also linked up with my site to make purchasing Pretty Pickle pretties that much easier!
Since it would be a little much to try to keep up with both blogs, I'm taking a break from this one for a little while. Who knows, I may come bak to it one day, but for now, make sure to add www.theprettypickle.com to your daily read!

Saturday, August 3, 2013
Sunday, July 28, 2013
BlogLovin
Follow my blog with Bloglovin
I signed up with bloglovin! Click the link above to more easily find my blog and be notified of new posts!
I signed up with bloglovin! Click the link above to more easily find my blog and be notified of new posts!
Saturday, July 27, 2013
Vacation Week!
This past week has been full of fun things!
My family and I went on a "vacation" of sorts to place near us.
Mom, Dad, KK, and a slue of children were the entourage.
Some moments were great (#makingfreakinmemories).
Some were....let's say challenging.
Come on, let's face it. Traveling with small children is never easy.
But we sure tried to make the most of every moment!
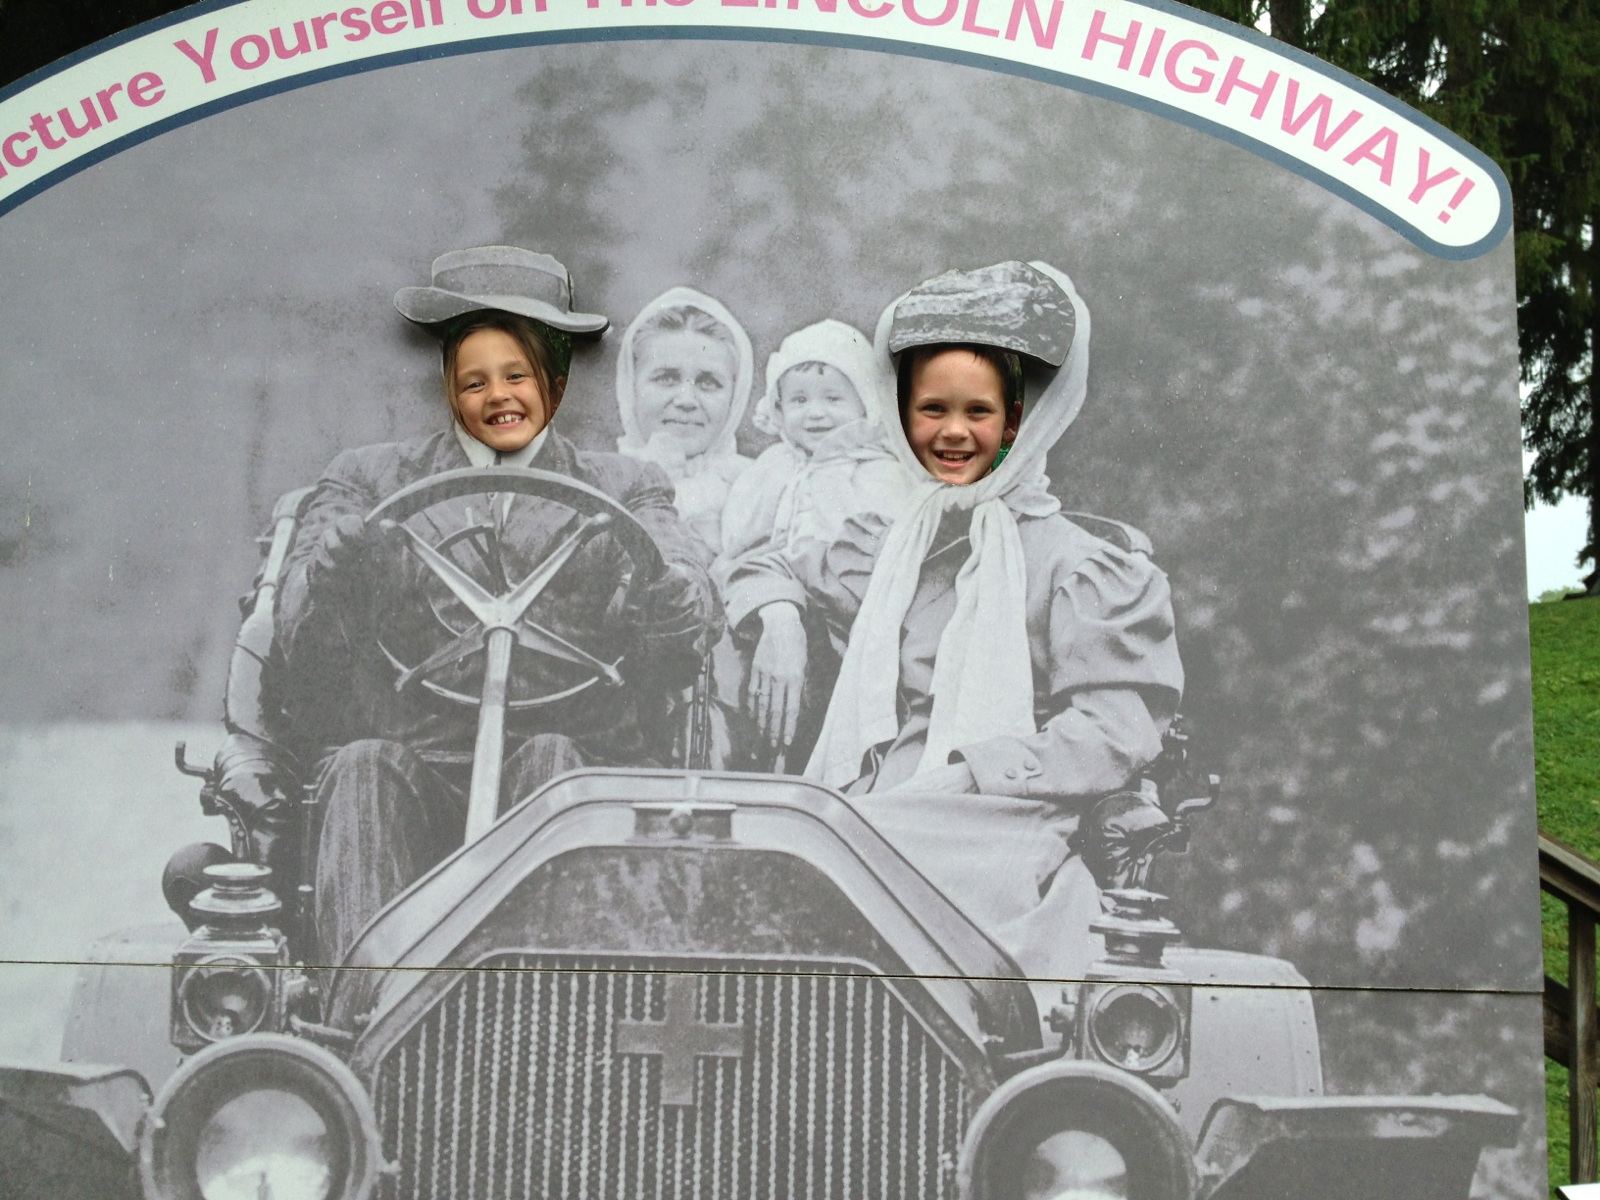
Monday: Idawild Park
It rained. A lot.
We got soaked. Several times.
Children complaining. Baby screaming. Soggy underwear and socks.
We lost my parents approximately 37 times.
But we made some freakin' memories, by golly!

My sister, "Aunt KK" was the reason we took this mini vacay. It was her week off from work and because she wanted us all to join her (being teachers, we had that option), she invited us to go!

A lot of my day was spent looking for quiet places to nurse and try to get my baby to sleep! I goofed up and forgot to give him his acid reflux meds that morning....lame. So he was a fussy baby for most of the day. Here, I found a gazebo that was empty of people...and chairs. So I plopped on the floor and began feeding my baby. And 5 minutes later, another downpour hit. My "quiet" place was crammed full of people! Oh well. I'm pretty sure hundreds of people saw my boob this day, even with the nursing cover. Ha!

We rode rides in the rain! Cra-Cra!
K and KB are on top and KK and I are near the bottom.

L-Rose sure enjoyed the rides! The highlight of the trip was after riding her first kiddie ride, L-Rose say "I RIDE it!!" She was super pumped and seeing the joy on her face was worth it!

Nana even got in on the action! We totally could not have pulled off this trip without my parents helping us. Thanks guys!


We only got a few minutes in the water park (of which I did NOT participate...no way I was getting in a swim suit less than 2 months PP) because we didn't know it closed at 6! It worked out fine though, as the kids had a blast, and we weren't stuck in one section all day.


Riding the kiddie rides.
Tuesday was a rest day. Whew!
Wednesday: Tanger Outlets! I didn't get any photos of this because we were to busy shopping!!!
K-man and KB spent the day with GDaddy, while Mom, KK, and I (along with baby) shopped the day away. It was fun. But I am more than ready to shed some more baby weight so I can look cute in clothes again. I did manage to find a few things though...=)
Thursday: Pittsburgh Zoo and a night in the motel

Ronan's first trip to the zoo was a success! We had a MUCH better day. The weather was glorious! not too hot, no rain, and a slight breeze. It was perfect. Ronan was less fussy and took some good naps even!

I missed an awesome photo right before this shot was taken. This leopard jump up on the glass right in front of K-man! Everyone screamed!


Love the elephants. My FAV for sure.


I have a picture somewhere of Kole and me at the zoo in this exact spot, when he was maybe a year old. We had to take another this time=).

My silly pretty sister.

Petting a deer!

Riding a turtle statue.
After the zoo, we stayed in a Comfort Inn and Suites for the night. It was nice to not have to drive home and relax a bit.

We ate at Max & Ermas which had pretty good burgers.
Afterwards, we went back to the hotel and got settled in, and went for a swim. The kids had a blast, including Ronan! It was his first time in a pool and he kicked and splashed and had a ball. Until he turned slightly purple....we got out early and warmed up=)

Water baby in a speedo!

Splashing with grandaddy.
After trying to wear out the kids at the pool, we retreated to our rooms and rested up for the next day.....
Friday: Carnegie Science Center


 He made it to the top! Go K-man!
Next, we headed in doors to play for a bit. GDaddy took the older two to go through the submarine, which Nana, KK, and I took L-Rose to the little kid play area. It was soo cool!! Tons of contraptions and levers and buttons! Even a HUGE water table!

We bought tickets to the Omnimax Theater show "Flight of the Butterflies".
No photos allowed, but I did snap a pic of these beauties on display.

Then we headed to the robot room to play some more.


Carnegie closed at five, and we stayed till close. But we realized that we were going to be leaving during rush hour if we took off for home then! So, we channeled our inner adults (I learned from my Aunt Becky) and walked downtown to eat some dinner.
Jerome Bettis Restaurant was the best and closest choice and it was pretty good. I got a deep fried burger. Yup, you read that right. Interesting to say the least.
On our walk back to the car, we stopped by the river and took some photos.


After trying to wear out the kids at the pool, we retreated to our rooms and rested up for the next day.....
Friday: Carnegie Science Center

It was a beautiful day in Pittsburgh, PA.

We started off the excursion with the sports enter at Carnegie Science Center. There were so many fun sporty things for the kids (and adults!) to do.

GDaddy and Kole waiting in line for a virtual trip through the body.
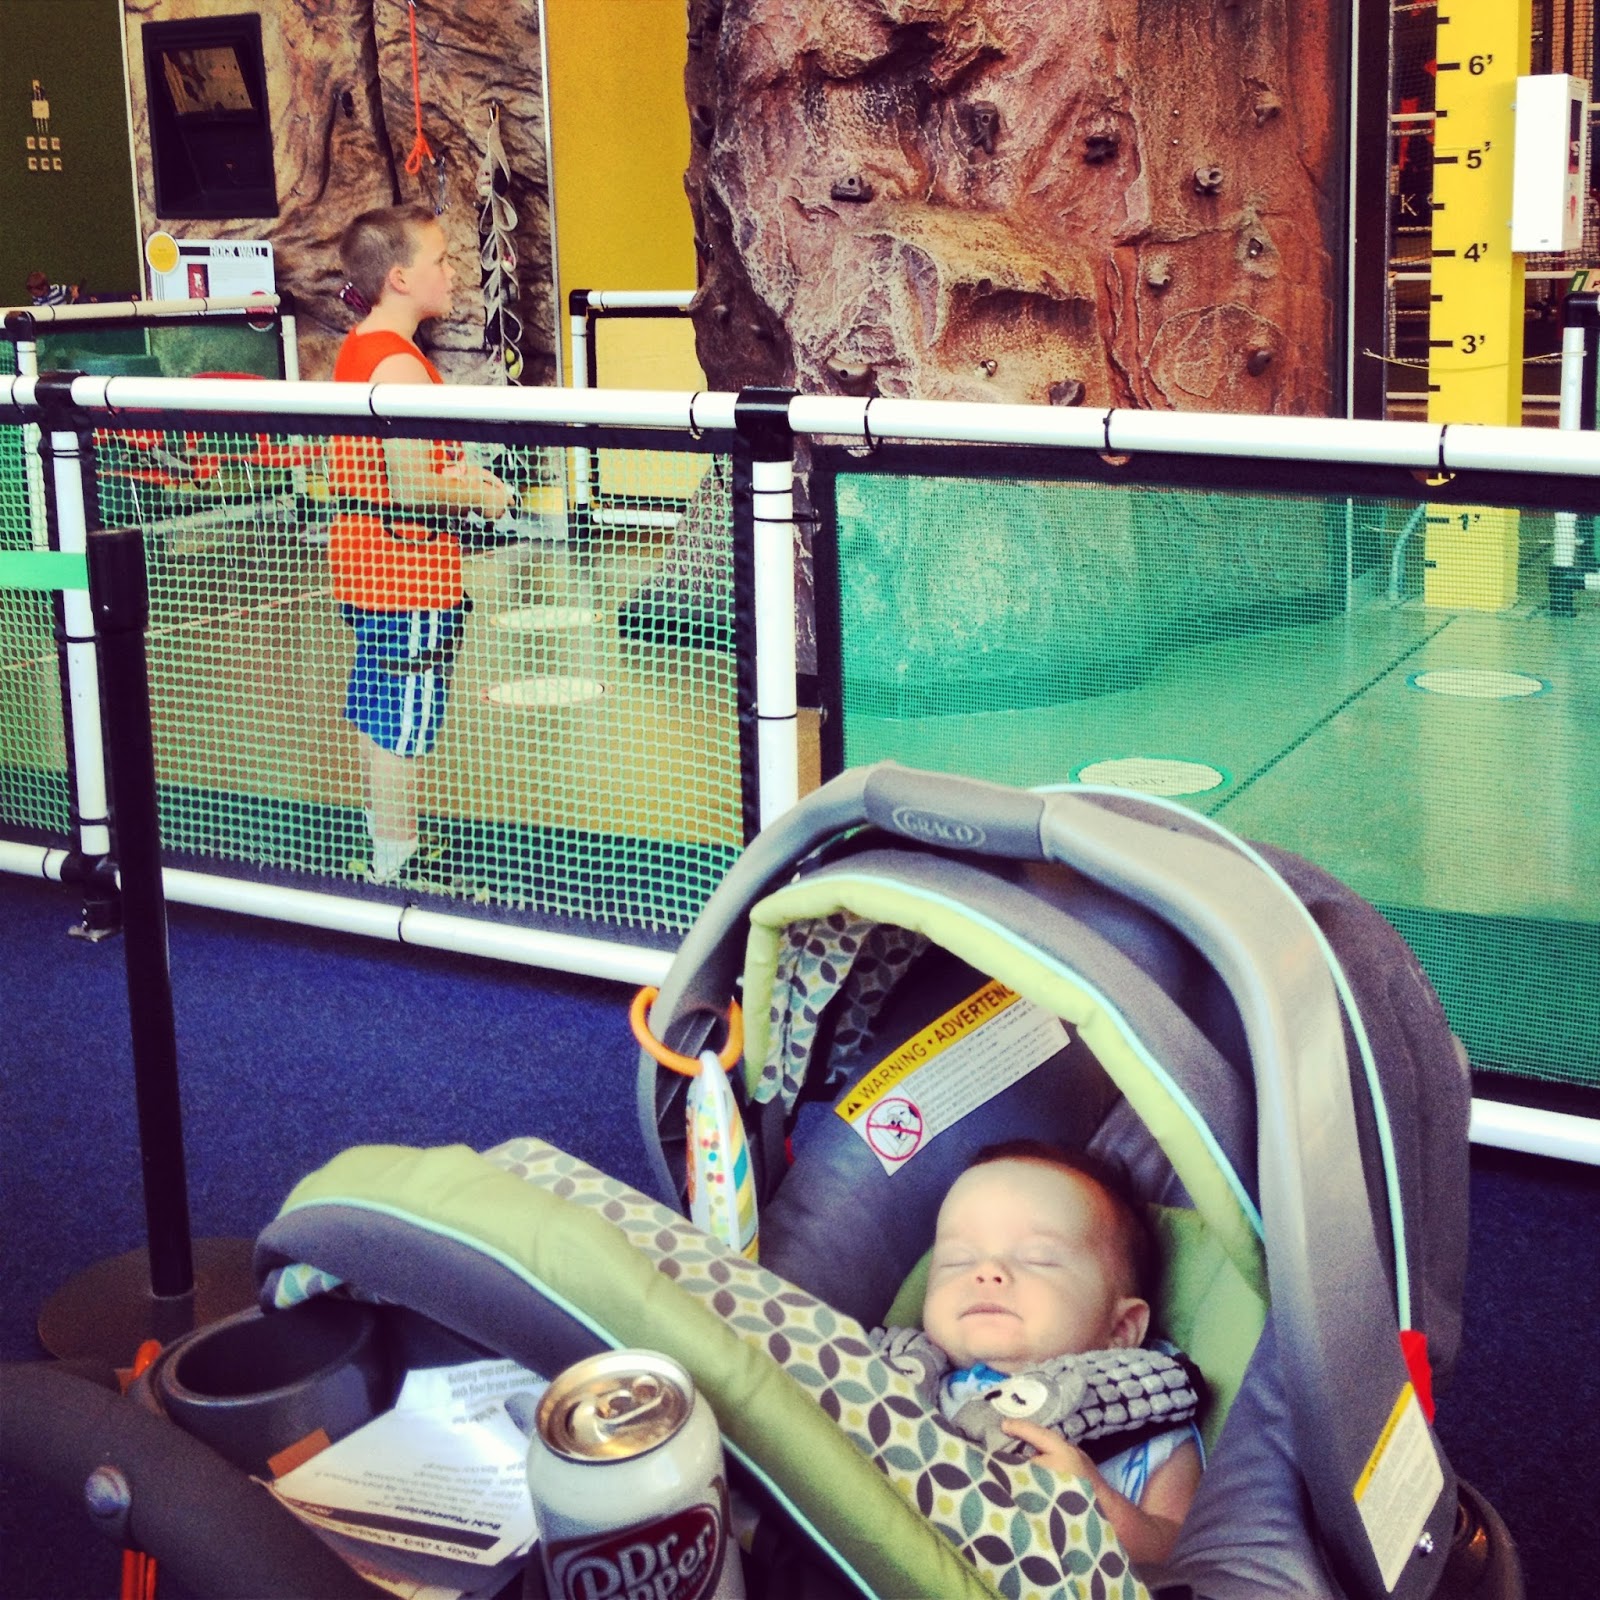
Getting ready to rock climb. And sleeping=)

Next, we headed in doors to play for a bit. GDaddy took the older two to go through the submarine, which Nana, KK, and I took L-Rose to the little kid play area. It was soo cool!! Tons of contraptions and levers and buttons! Even a HUGE water table!

We bought tickets to the Omnimax Theater show "Flight of the Butterflies".
No photos allowed, but I did snap a pic of these beauties on display.

Then we headed to the robot room to play some more.

Nana, channelling her inner gamer.

K-man and his star wars robot guy....named something or other...

We even found a nemo for L-Rose!

experiencing weightlessness....and a wedgie.

There were a few tanks on the third floor that had cool creatures in them.


GDaddy is a cool creature too!
Carnegie closed at five, and we stayed till close. But we realized that we were going to be leaving during rush hour if we took off for home then! So, we channeled our inner adults (I learned from my Aunt Becky) and walked downtown to eat some dinner.
Jerome Bettis Restaurant was the best and closest choice and it was pretty good. I got a deep fried burger. Yup, you read that right. Interesting to say the least.
On our walk back to the car, we stopped by the river and took some photos.

Not sure who this statue is, but K-man called him his army. I think he was delirious at this stage.
What a fun and exhausting week!
Today (Saturday) is my rest day for sure. I haven't done a thing. I finished a show on netflix, read, drank coffee, and nursed a baby today. And I'm still in my PJ's.

Great end to a great week!
Saturday, July 20, 2013
Family, Fun, Summer Galore!
Whew! These past several weeks have seemed to fly right by!
We've been keeping so busy, I've neglected the blog, yet again=).
But I am so thankful for all that has been going on in our lives on (and around) Brown Acre.
First, I want to show you a new furniture redo! Like always, I get excited and forget to take those darn before photos. But the finished product is a beauty!

And she's still for sale! Click here for more info....
We've had such a great couple weeks with family!!
And next week is going to be so much fun too!! But I'll leave that for another post...
Ronan has gotten to hang out with several members of the family.

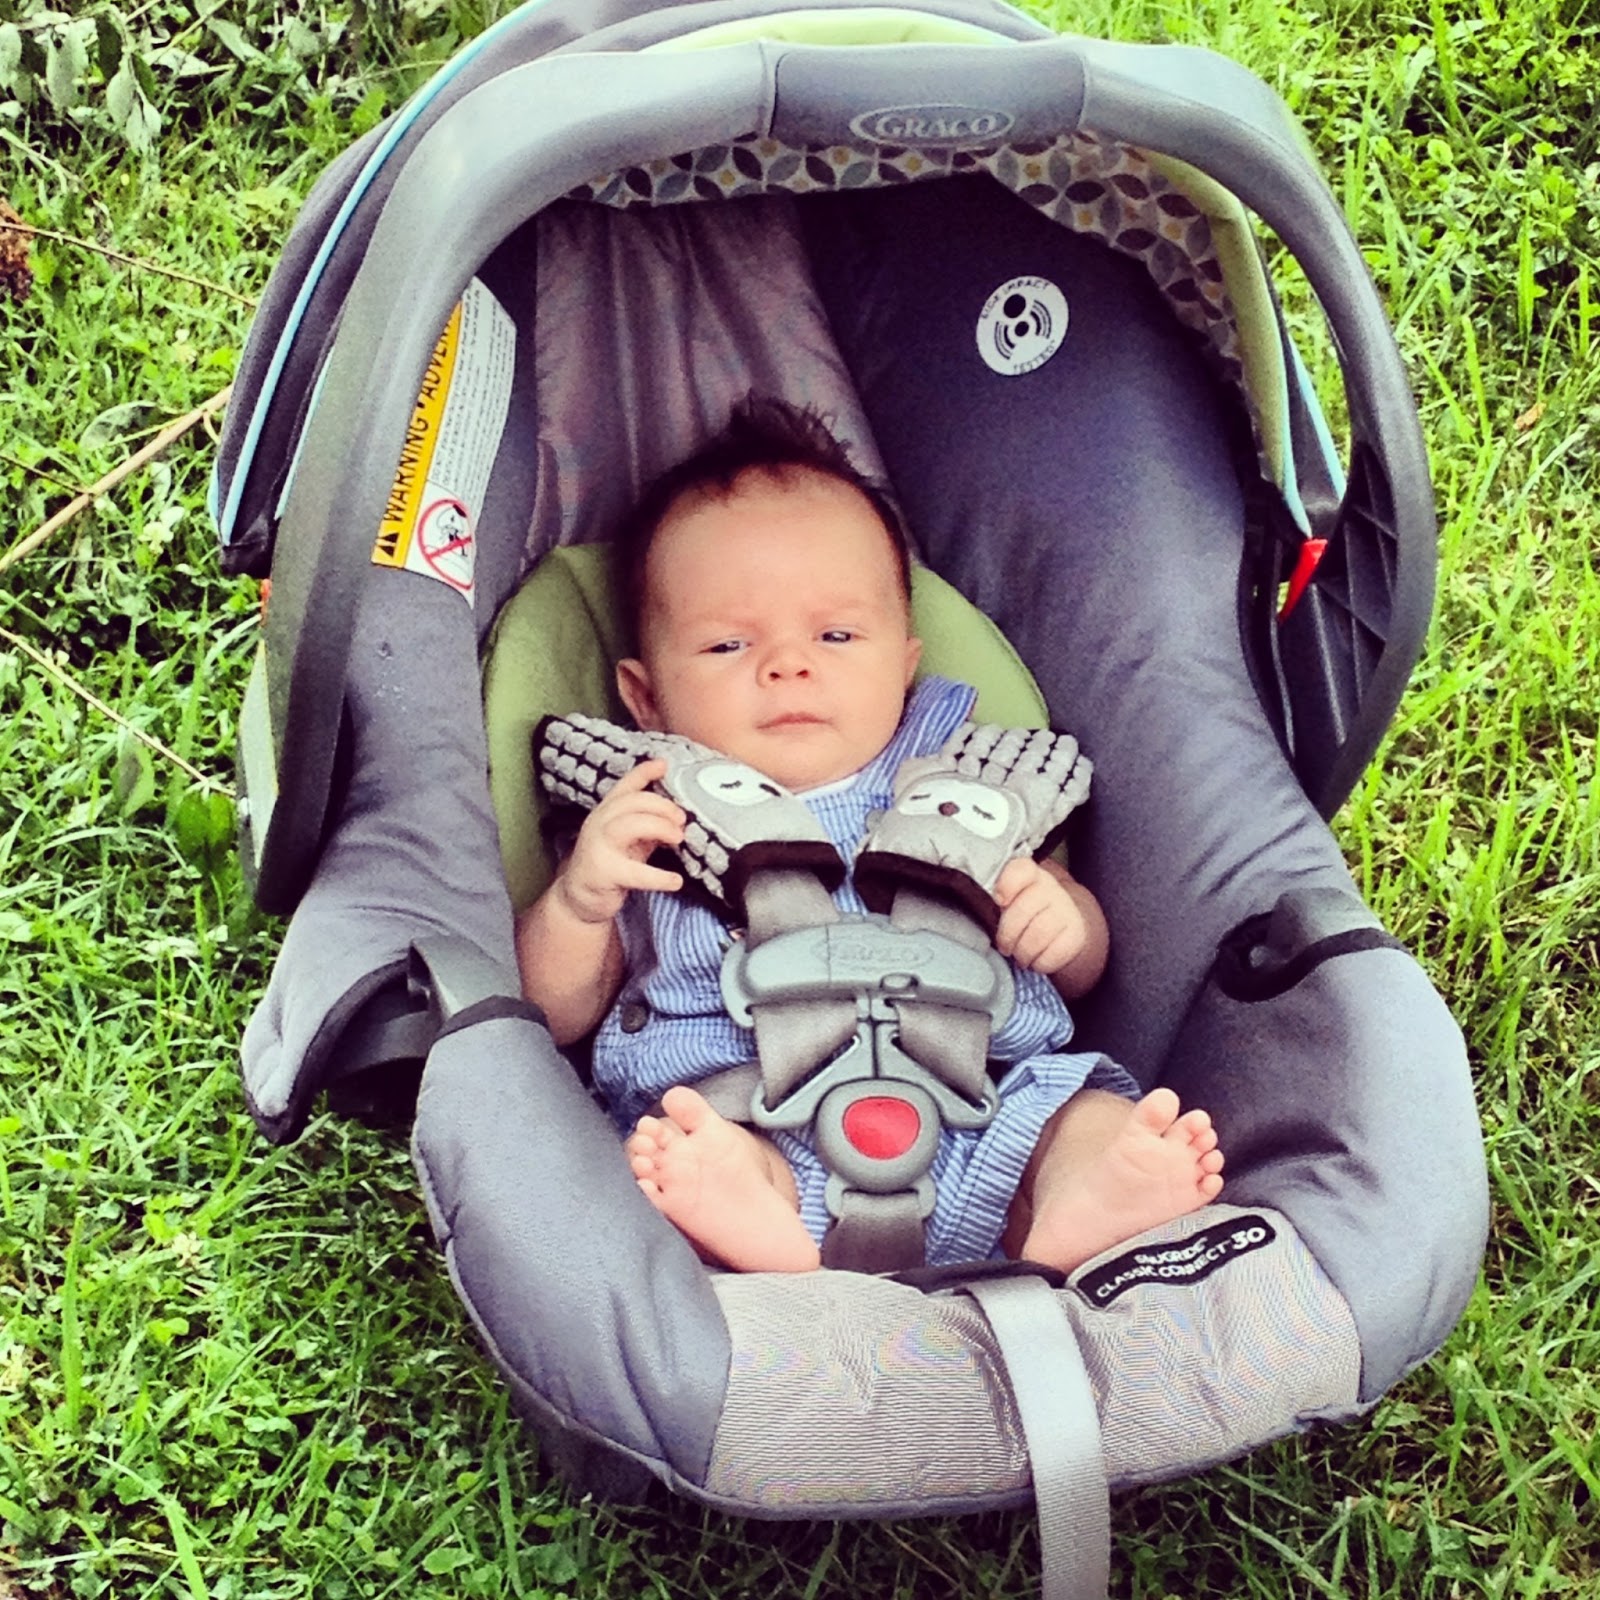
Here he is with Aunt "KK". This boy sure loves her! When I can't get him to sleep, I just hand him right over and within minutes, he is out! Notice the natural mohawk?!?

Sweet Cousin L. She sure loves Ronan! Always wanting to hug and kiss on him. It is just too sweet!

My sister, the kids, and I got to attend the Mannington festivities for the 4th of July. Here is Kole getting ready to battle.

KK won a cake at the cake walk! I was so proud! Fulfilling my childhood dream from a elementary harvest party where everyone won a cake but me. Go KK!!

G$ spent some quality time with Baby Ronan as well.

More love from the cousins.


Random, yes. But this chicken won't stay off my porch this summer. She flies over the fencing and walks right out to the porch to chill.
My Aunt Becky got to come in for a visit! It was so fun to hang with her! She's just great and "such a grown up"!!

This is what we do when we all get together. Facebook. LOL
My sweet baby! I adore this child.
Also celebrated this month was Nana's birthday!
We even got her in the hat at Mi Pueblo.


Then Kole had to take a turn=).

CRYING YODA!
My brother and sister in law also came in for a visit. What sweet people they are.
I always feel so inspired and encouraged by visiting with them.


Some gdaddy time.
Hopefully, you can forgive me for slacking on the blog.
We are just having too much fun!!
Stay tuned for next week's post! We have something planned EVERYDAY for my sisters vacay!
Can't wait!!
If you haven't already "liked" my Pretty Pickle FB page, please do so now!!! I'm adding new things everyday this summer!!! Just click here.
If you haven't already "liked" my Pretty Pickle FB page, please do so now!!! I'm adding new things everyday this summer!!! Just click here.
Subscribe to:
Posts (Atom)
Follow this blog with bloglovin